After constructing the 18v to 40v Adapter and Power Bank about a year ago,
it was only a matter of time before I constructed an adapter to go the other way.
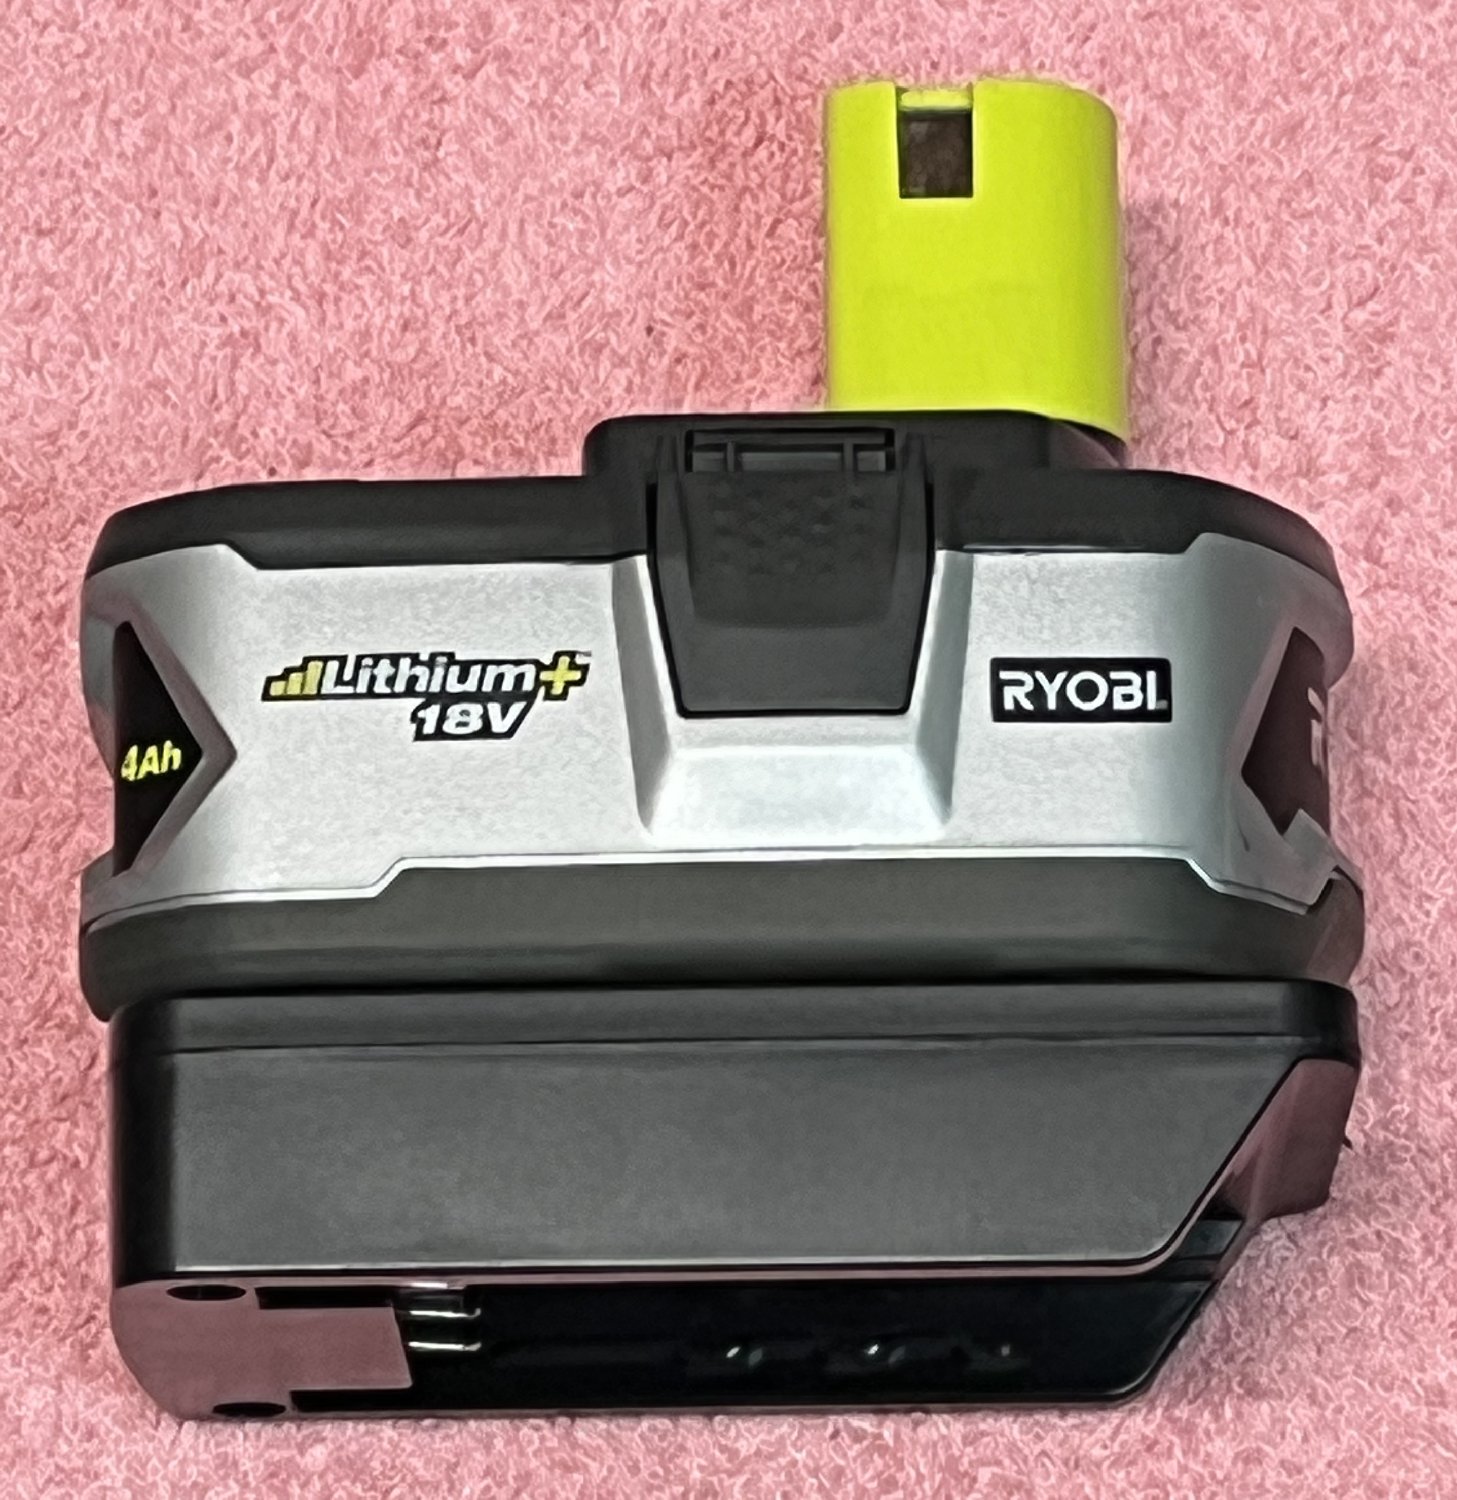
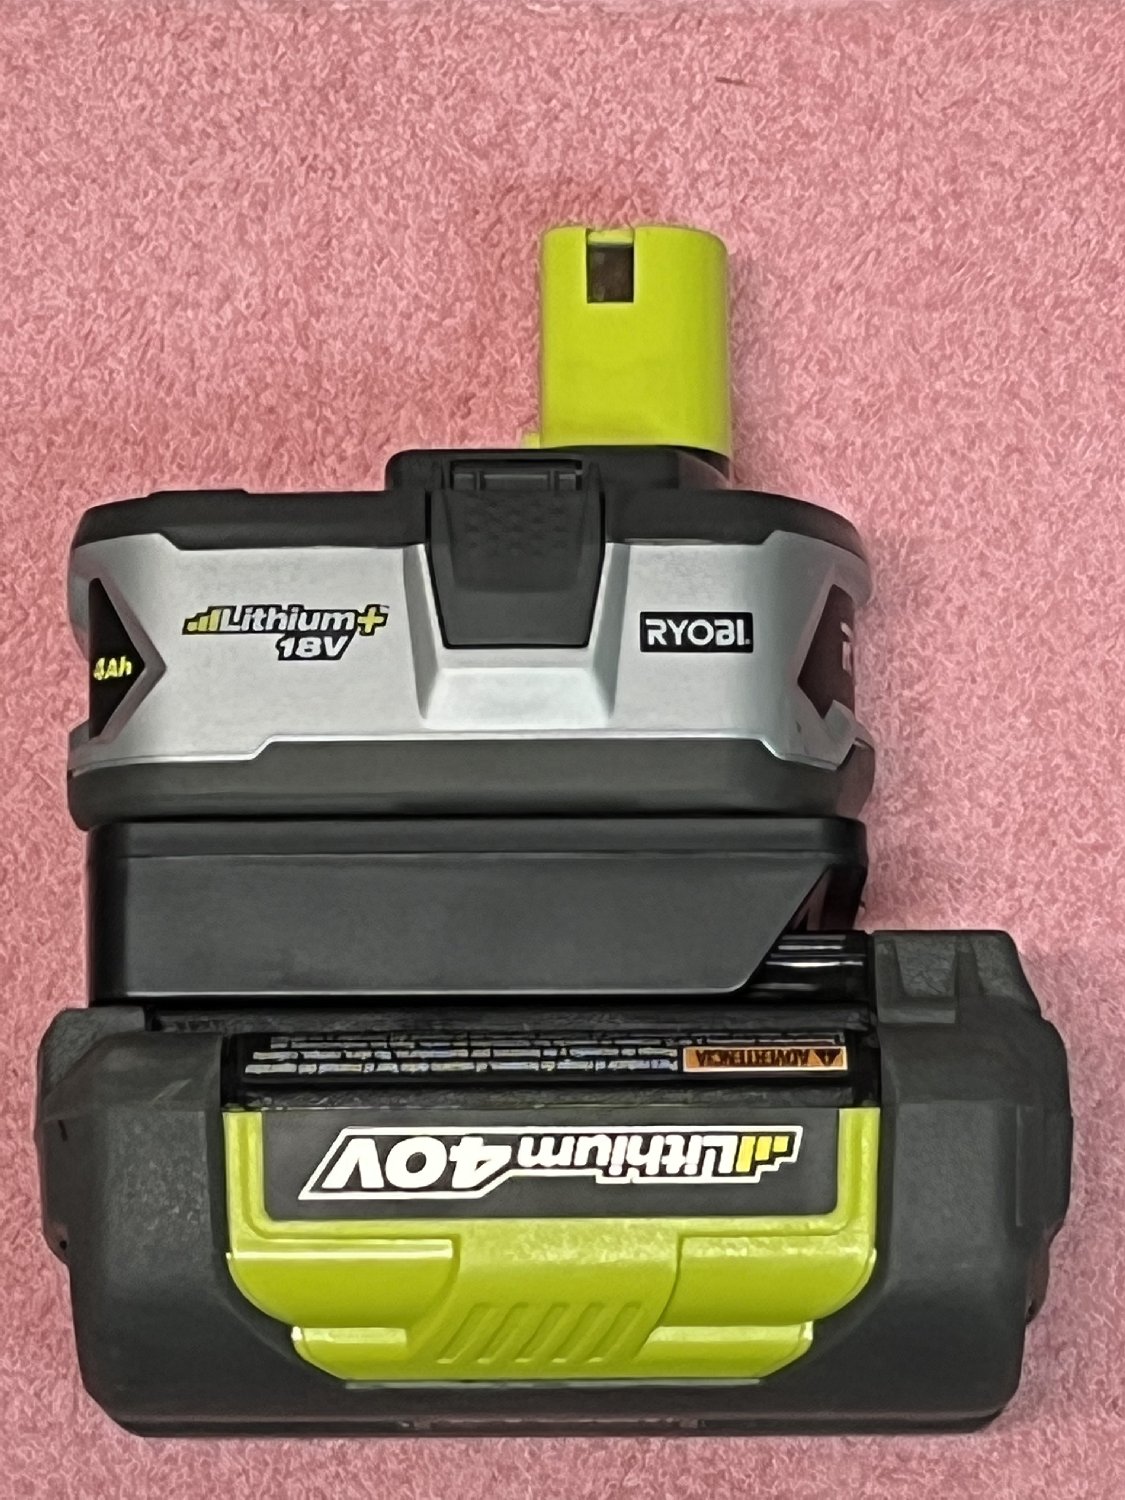
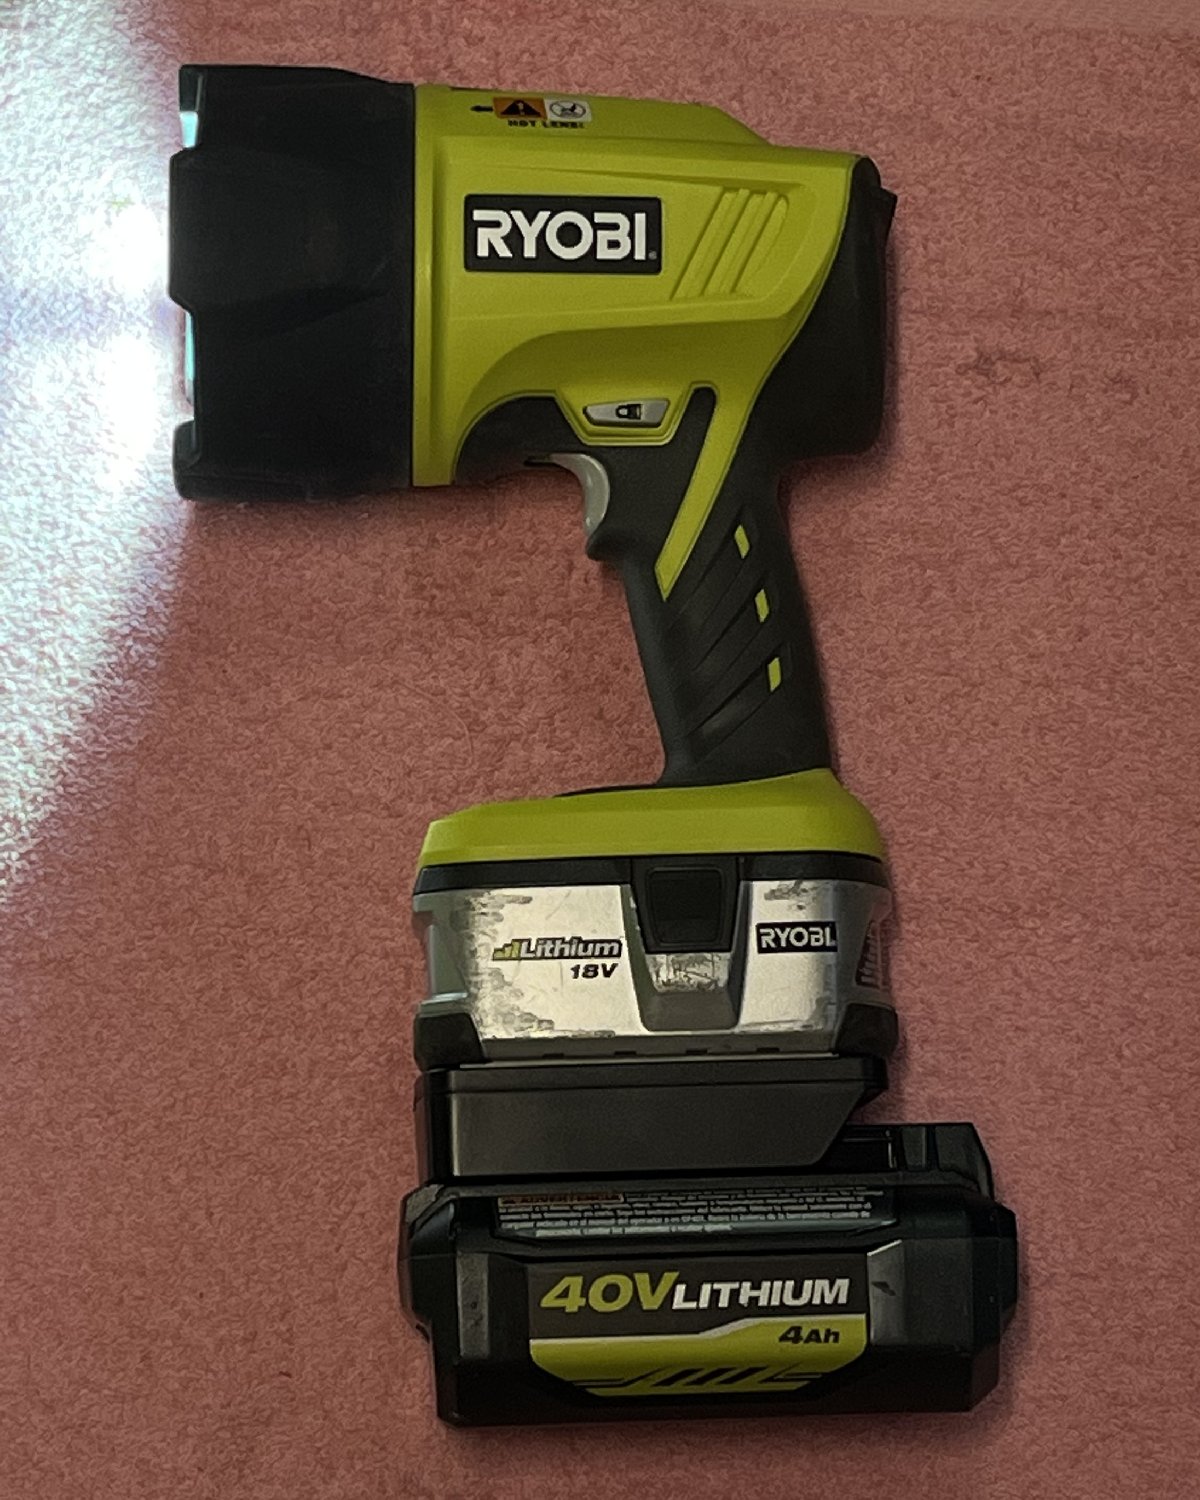
This device allows one to use a Ryobi 40v battery to power just about any Ryobi 18v tool.
I say "just about" rather than "all" because I'm sure there are a few 18v tools which cannot be used with this adapter
due to the physical size of the 40v battery.
For example, several wet-use tools such as the RY120350 EZClean 320PSI Power Cleaner have a plastic cover for an 18v battery which isn't large enough
to cover one of these adapters plus a 40v battery.
How it Works
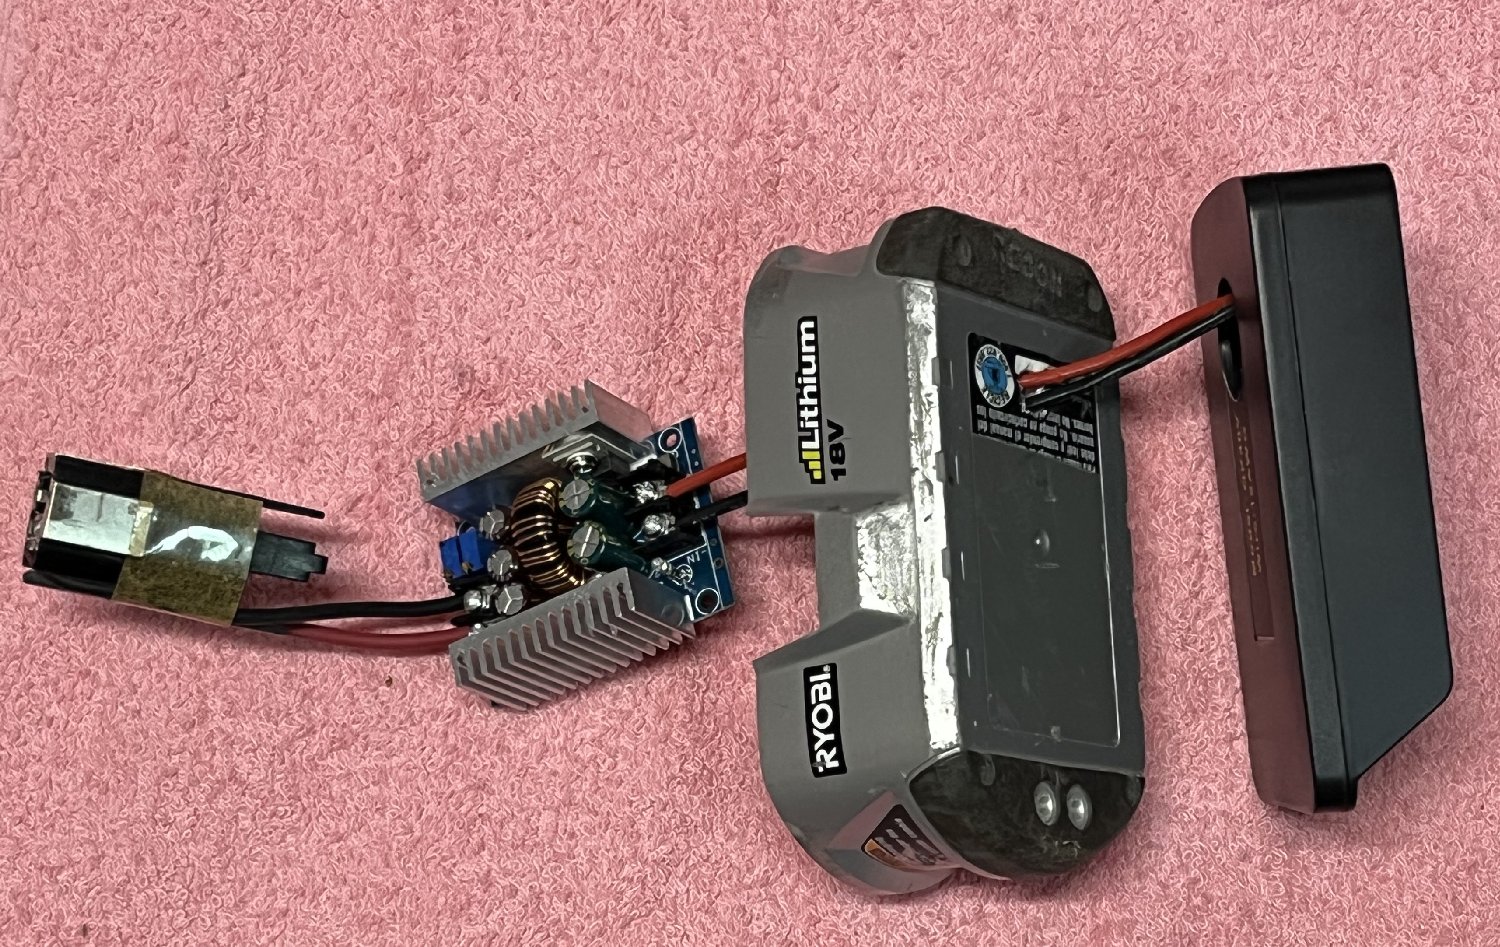
The heart of this adapter is an adjustable voltage output DC-DC bucking adapter.
Conveniently, the adapter is small enough to fit entirely within a full-height 18v battery shell.
All in all, this was a fairly simple project once I'd collected all the needed parts.
I constructed two of these, one using a P104 battery and the other using a P108 battery.
The Build
Parts required:
1 Ryobi 18v full height battery for parts, such as a P104 or P108 (a dead one is preferred; it would be a shame to sacrifice a working battery!)
Several square inches of corrugated cardboard (or Styrofoam)
Construction:
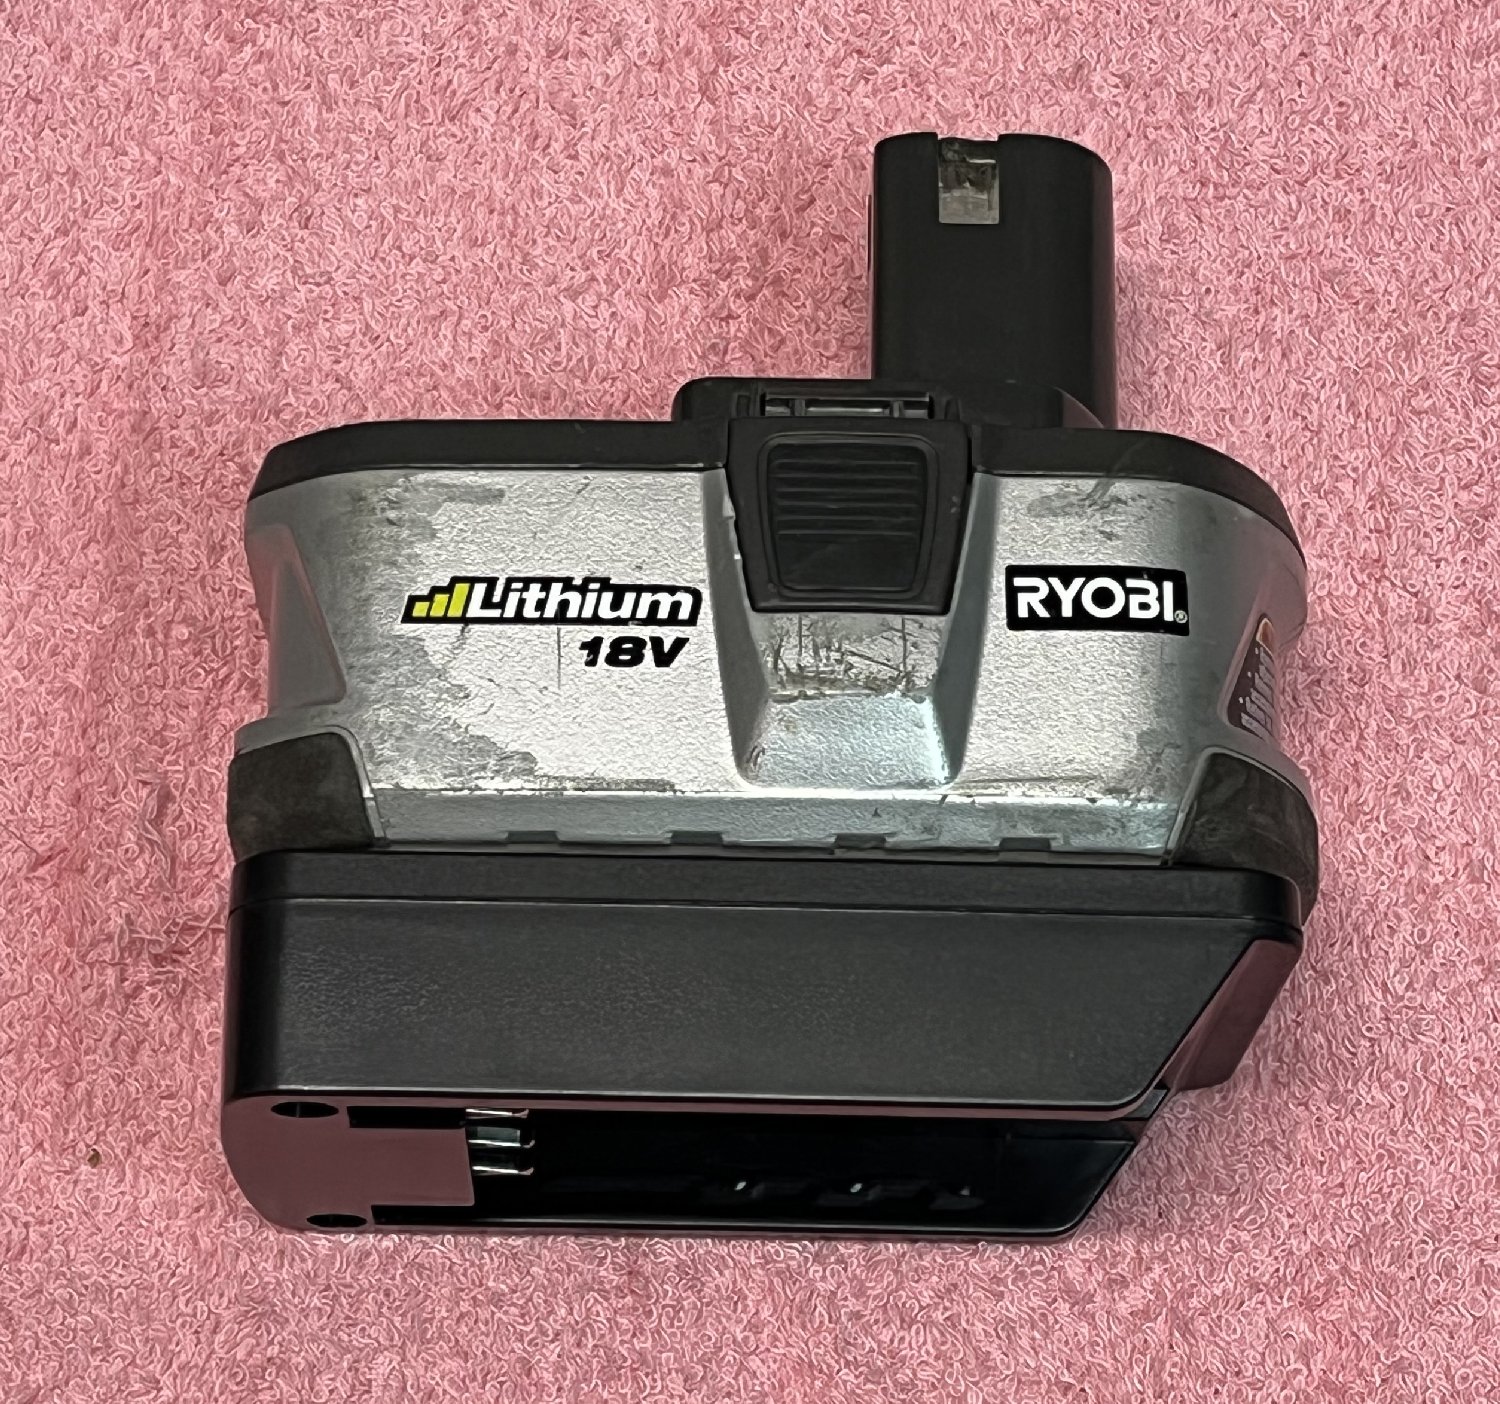
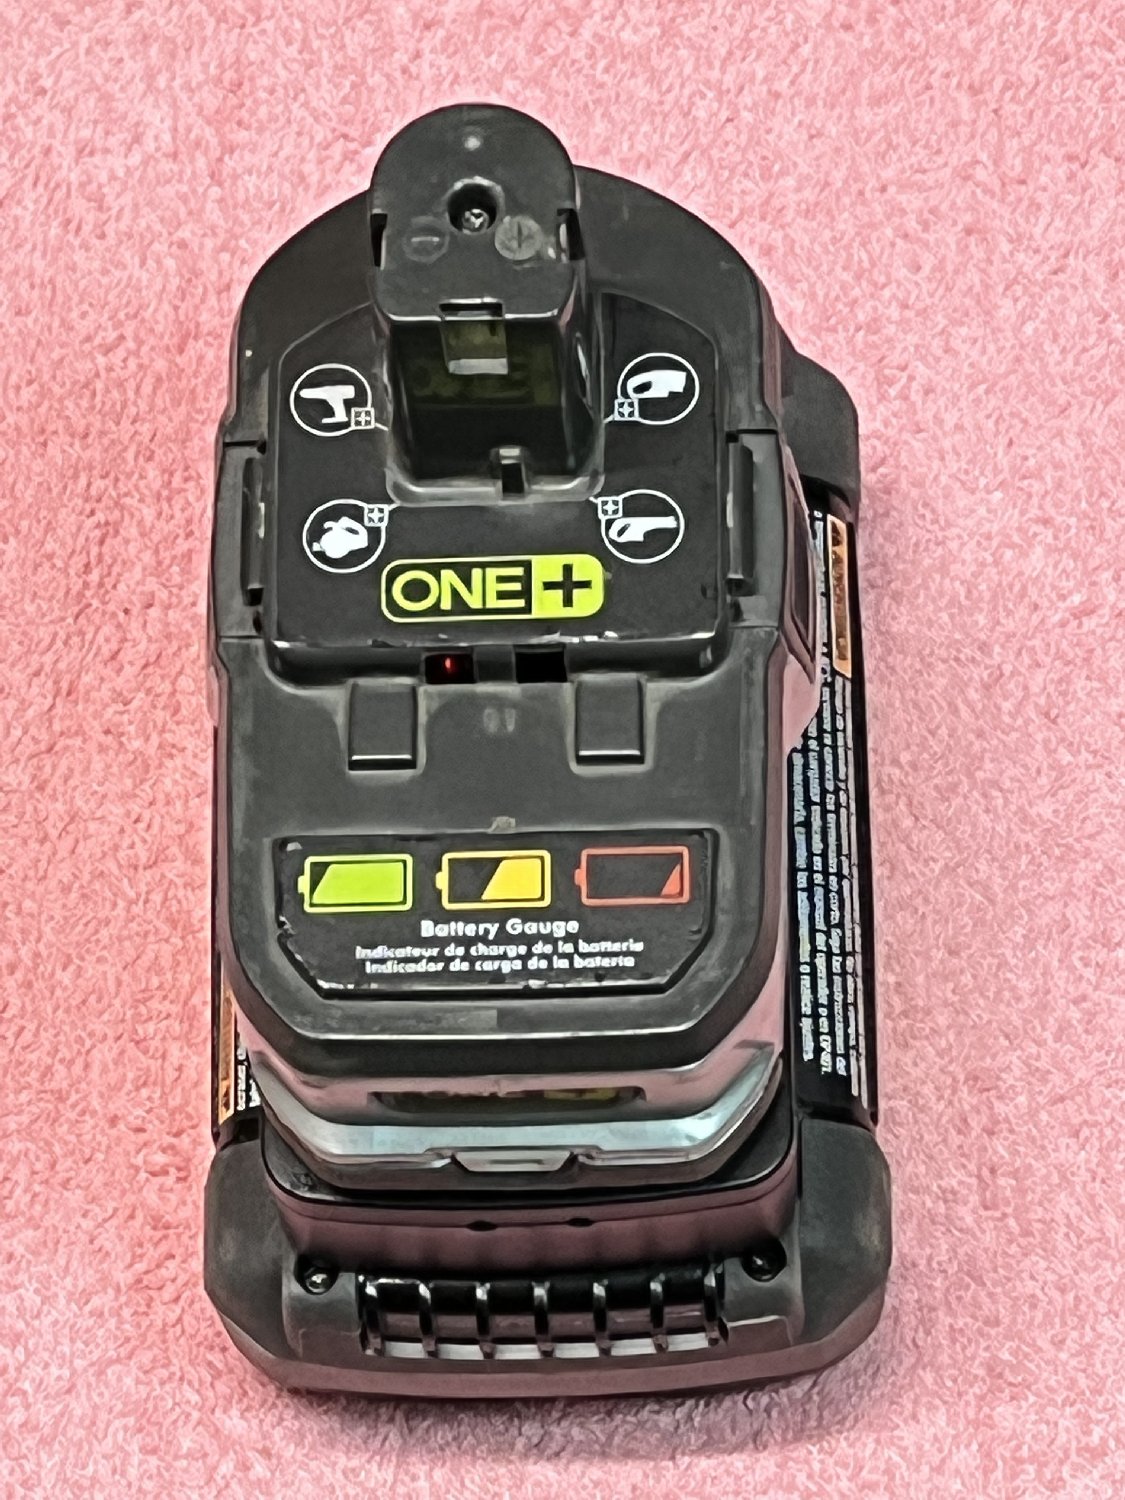
Disassemble the Ryobi battery and remove the 18650 cells with PCB. These cells should be recycled.
There will be a plastic piece with three contacts snug up in the stem of the 18v battery.
Slide this piece out of the stem and cut the wires flush with the PCB, leaving the leads as long as possible.
If the leads are shorter than 5" you may need to replace them with two new wires so everything will reach easily.
Put the battery shell and the plastic piece from inside the stem aside.
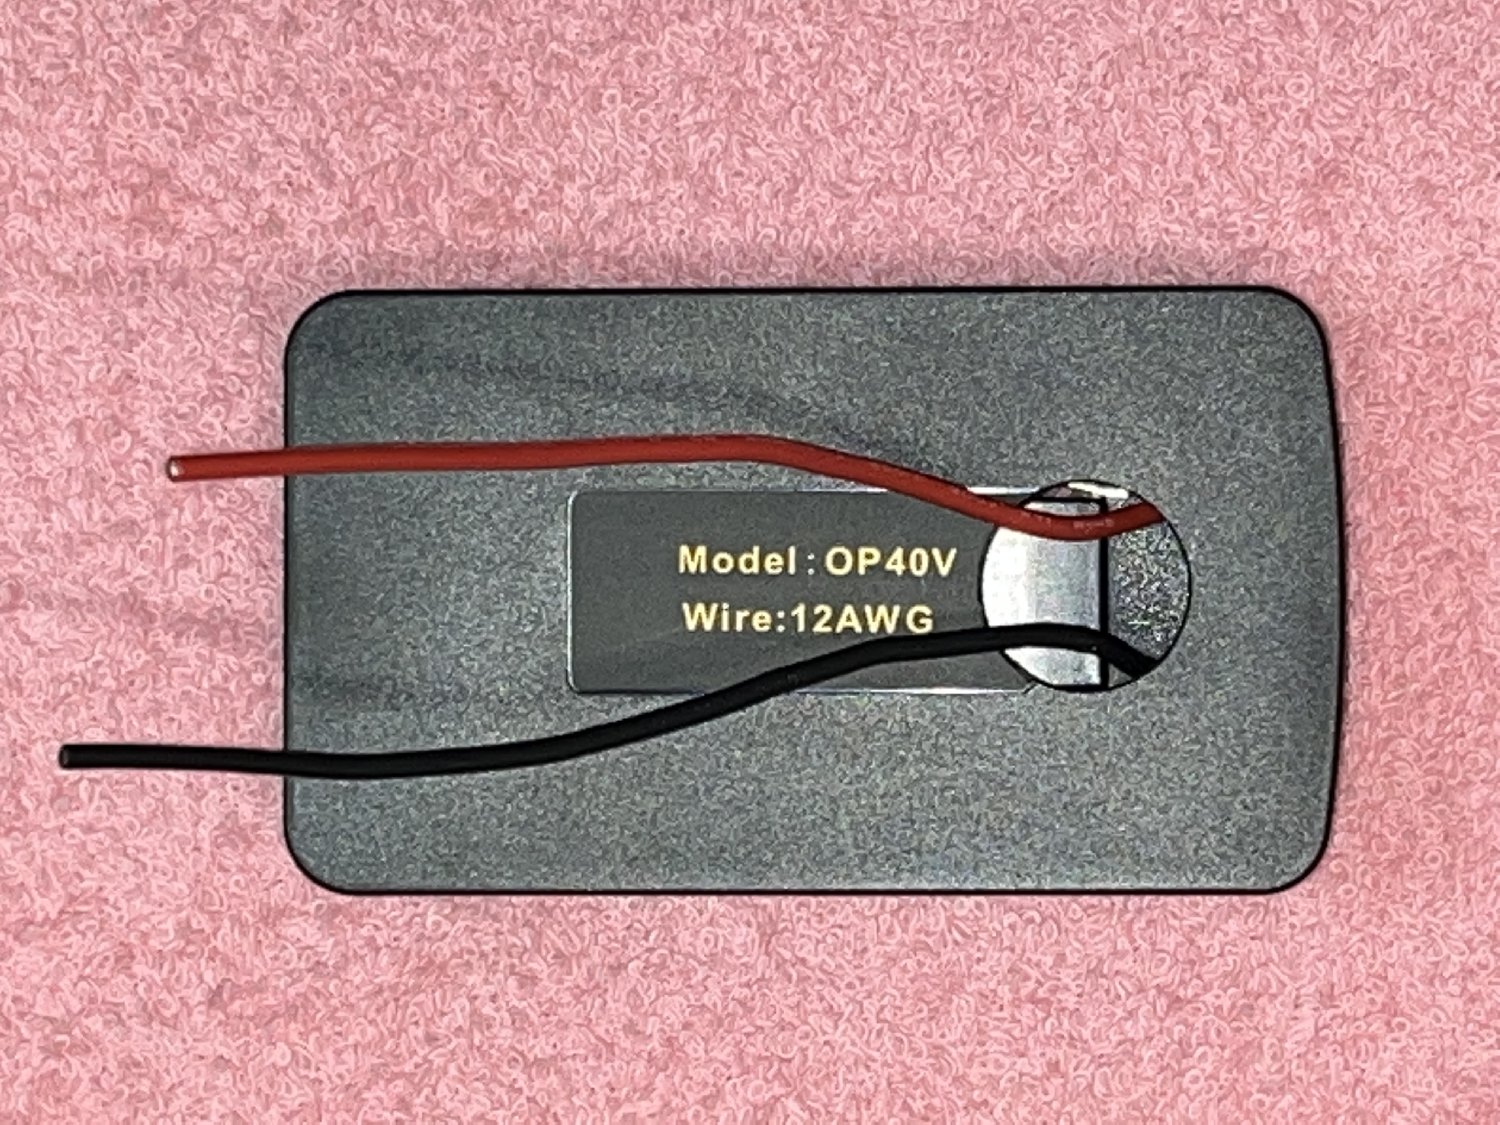
Drill a 1" hole in the bottom of the Power Wheels adapter.
I used a 1" Forstner bit in a drill press, but it could probably be done with a hand drill.
Using needle nose pliers push/pull the wires back into the adapter then feed them out through the new 1" hole.
Adjust the DC-DC Adapter
Using jumper wires, connect a Ryobi 40v battery to the Input+ and Input- terminals
Connect a voltmeter to the OUT+ and OUT- terminals and turn the multiturn potentiometer marked "CV" to 18.5v
Note: I chose 18.5v but any voltage in the range of 17v-19v would be fine.
Turn the multiturn potentiometer marked "CC" all the way in (clockwise) for maximum current
Note: You may want to verify that that clockwise INCREASES current on your unit
(Optional) Connect a moderate 18v load to the output to ensure that it's working.
When I did this, I first connected my 18v spotlight model P716.
After I was certain that the load could be sustained, I tried again with my P3150 Heat Gun, which draws >15A.
Align the 18v battery case with the 40v Power Wheel Adapter and drill a 1/4" hole in the battery case for the wires to pass through
Feed the wires from the Power Wheel Adapter through the battery case and connect to the Input- and Input+ terminals
Connect the wires from the plastic piece inside the stem to the OUT+ and OUT- terminals
Apply double-backed sticky tape to the bottom of the battery case and attach the Power Wheels Adapter
UPDATE: After using these several times I learned that the double-backed tape was not strong enough.
I left the tape in place but I've now added three screws and this seems adequate.
Feed the plastic piece up into the stem of the battery shell and insert the screw from the top
Cut and bend a piece of corrugated cardboard to fit under the DC-DC adapter, up the sides, and across the top
When the battery shell is assembled, two metal pieces are used to make the battery clips "springy".
We want the cardboard positioned to keep the DC-DC adapter from touching these metal clips.
Place the DC-DC adapter in the battery shell and fold the wires neatly.
If the DC-DC adapter sits loose, add cardboard until it fits snugly.
Place a piece of carboard on the top of the DC-DC adapter.
Add the top shell of the battery and screw it closed.
This page brought to you by eBay's TOOLBOY Last revised 07-Apr-2022
Count since 27-Jan-2022: